New Home Page
The New World ERP home page has been updated with a more modern, intuitive layout that makes it easy to find, review and act on the information most important to you:
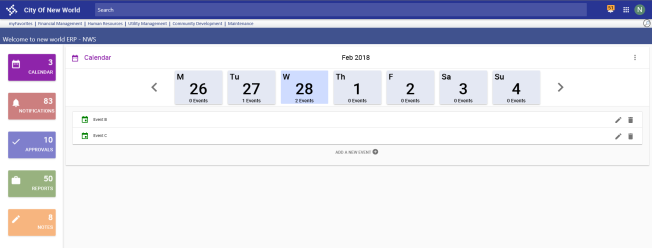
All data on the home page is unique for each signed-in user.
In the following home page images, click any area to learn what it does:
Page Header

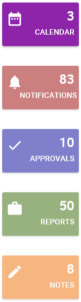
Information Tiles
Categories of information that appeared on the original home page now appear as hyperlinked tiles arranged in a column down the left side of the new home page. For more on each category, click its corresponding tile in the image below:
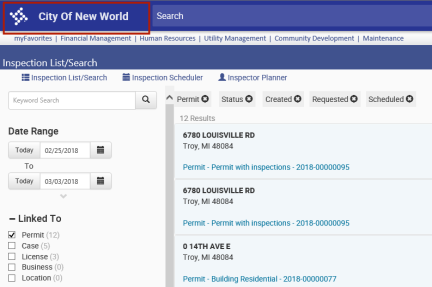
Global Search
To increase convenience and speed in finding the information you need, a global Search field is available at the top of the home page and all other pages of the software:

For more on this feature, click here for the write-up or ![]() here for the video.
here for the video.
Returning Home
To return to the home page from anywhere in the software, click the company logo in the top-left corner of the page:
Icons
The following three icons appear in the top-right corner of the home page and all other pages in the software:

The Alerts icon alerts you to the latest items requiring your approval and reports that have completed and are available in myReports. A running count of the items overlays the icon  . Clicking the icon opens a
 ![]() pop-up containing the most recent 20 items, sorted from the latest to the earliest.
pop-up containing the most recent 20 items, sorted from the latest to the earliest.
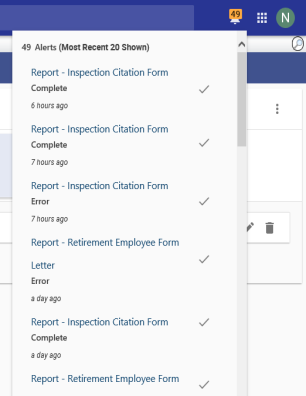
You may click an item to navigate to it or click the check mark  to acknowledge you have seen the item and remove it from the list, reducing the count. Removing it from the list does not remove the approval or report itself.

Clicking this icon opens a ![]() menu with options to navigate to myReports, Approvals and Help Central and an option to add the current page as a favorite.
menu with options to navigate to myReports, Approvals and Help Central and an option to add the current page as a favorite.
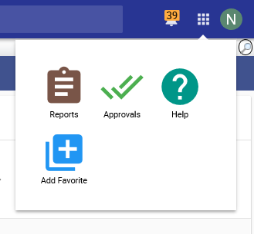

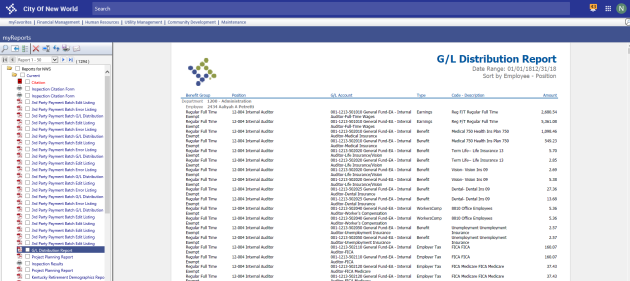
The ![]() myReports page is where you view and manage the reports you have run.
myReports page is where you view and manage the reports you have run.

The ![]() Approvals page displays a list of tasks assigned to you. Arranged on individual cards, tasks may include approving purchase orders and employee change requests or reviewing data that has changed as a result of a system process.
Approvals page displays a list of tasks assigned to you. Arranged on individual cards, tasks may include approving purchase orders and employee change requests or reviewing data that has changed as a result of a system process.
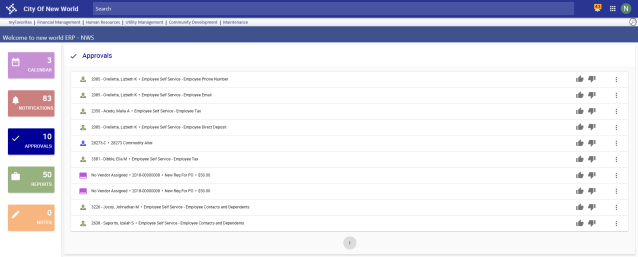
A ![]() task type icon is displayed on the left side of each card. Hovering over the icon displays the name of the task type.
task type icon is displayed on the left side of each card. Hovering over the icon displays the name of the task type.

To ![]() view the primary details of a task, click the corresponding card to expand it.
view the primary details of a task, click the corresponding card to expand it.
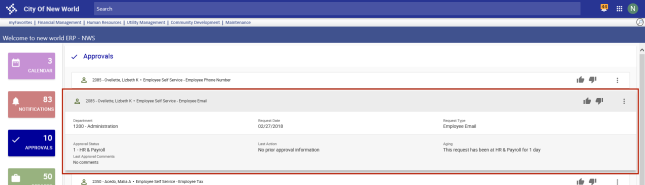
The right side of each card displays icons to approve  or reject
  the task and a More actions menu
  to navigate
  to the page linked to the task or delete
  the task.

The Help icon opens ![]() help for the page you are viewing.
help for the page you are viewing.
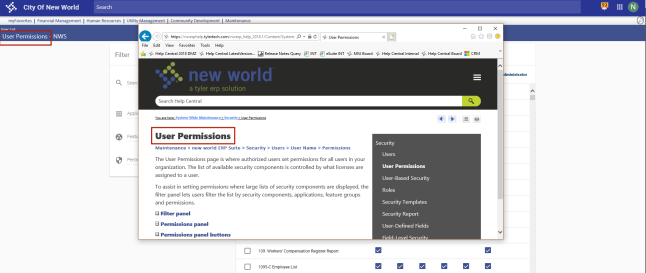
Once there, you have access to any information housed in New World ERP Help Central by using the ![]() search field centered above the help content or the menu
search field centered above the help content or the menu ![]() in the top-right corner.
in the top-right corner.

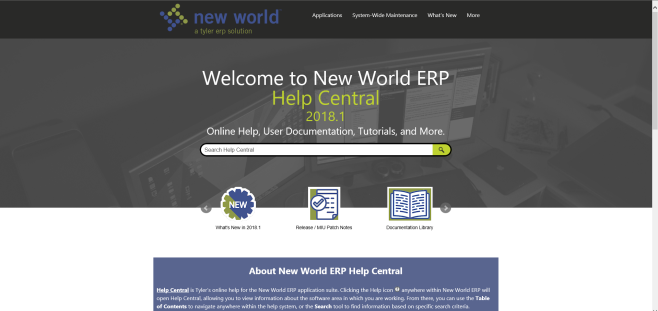
You also may click the company logo  in the top-left corner to navigate to the
 ![]() Help Central home page.
Help Central home page.

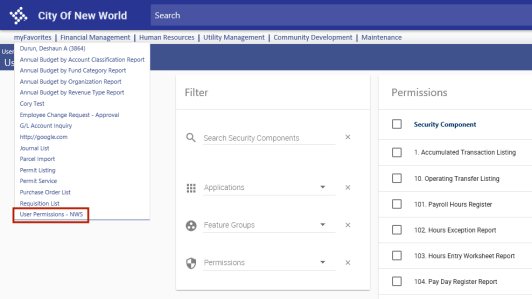
To save the page you are viewing as a favorite, click this icon. The page is added to your ![]() list of myFavorites on the far-left side of the menu bar and on the mySettings panel, where you may rename or remove it from myFavorites (see User Settings and Sign Out below).
list of myFavorites on the far-left side of the menu bar and on the mySettings panel, where you may rename or remove it from myFavorites (see User Settings and Sign Out below).

Imprinted with the first letter of your user name, this icon gives you ![]() options to navigate to your mySettings page and to sign out of the system.
options to navigate to your mySettings page and to sign out of the system.

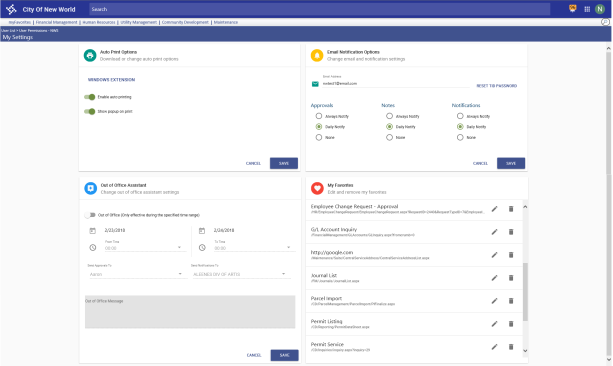
Clicking this option takes you to your ![]() mySettings page, where you may view and manage your auto-print options, email notification options, Out of Office Assistant and favorites.
mySettings page, where you may view and manage your auto-print options, email notification options, Out of Office Assistant and favorites.
Auto Print Options
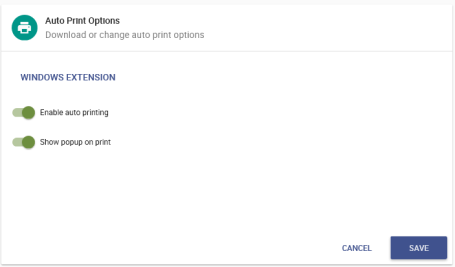
If you do not have your printer set up on a network or print receipts for point-of-sale operations and use the local printer auto-printing feature, use the ![]() Auto Print Options panel to manage settings.
Auto Print Options panel to manage settings.
When setting up a new computer using a printer that is not on the network, you need to run the Auto Printing Extension installer package to use the Auto Print Options feature.
-
Click the
 link on the Auto Print Options card. The
  "run or save" prompt displays.
 -
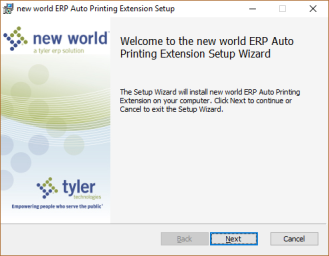
Click Run. The
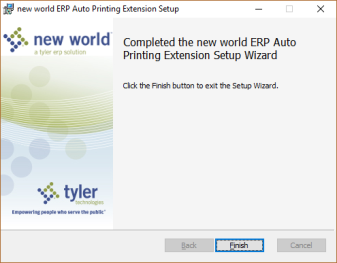
New World ERP Auto Printing Extension Setup Wizard opens. -
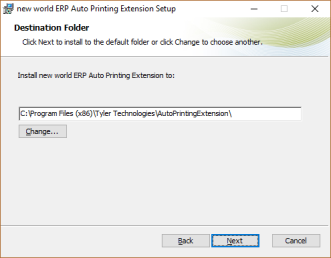
Click Next. The
Destination Folder dialog opens. - Accept the default folder for the Auto Printing Extension, or click Change to select a different folder.
-
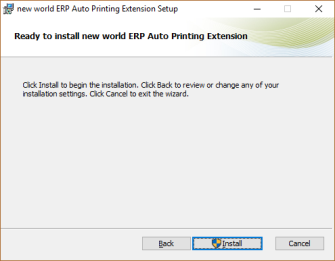
Click Next. The
"Ready to install" dialog opens. -
Click Install. A
final dialog tells you when the process has finished. - Click Finish to exit the setup wizard.

To have documents sent directly to the printer, select Enable auto printing: 
To have the browser print dialog open instead of having documents sent directly to the printer, deselect Enable auto printing: 
If you want the Auto Print Options settings card to display when a print job is submitted, giving you the option to edit settings at that time, select Show pop-up on print: 
If you do not want the card to display, deselect Show pop-up on print: 
Click SAVE to save your settings.
Email Notification Options
Use the ![]() Email Notification Options panel to set up how often you are notified by email when an event occurs as defined in Notification Manager. Event types are listed together on the panel so you may select settings for all types at once.
Email Notification Options panel to set up how often you are notified by email when an event occurs as defined in Notification Manager. Event types are listed together on the panel so you may select settings for all types at once.
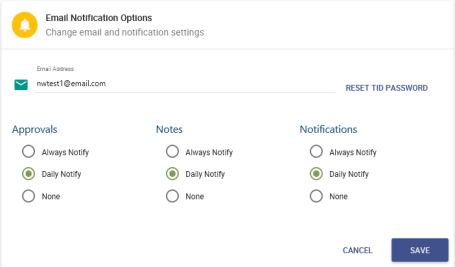
The Email Address field contains your user email address.
Select one of the following notification options for Approvals, Notes and Notifications:
An email notification includes a link to view the associated page in New World ERP.
Click SAVE to save your settings.
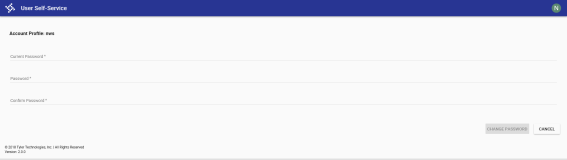
The Email Notification Options panel also provides a link to reset your Tyler Identity (TID) password (RESET TID PASSWORD). Clicking this link opens the ![]() User Self-Service page, where you will enter your current password and new password.
User Self-Service page, where you will enter your current password and new password.
Out of Office Assistant
If you are going to be out of the office for a period of time and need someone else to address your tasks while you are out, use the ![]() Out of Office Assistant panel to set the date and time range of your absence, select the surrogate(s) who will handle your approvals and notifications and compose the out-of-office message users will receive automatically when sending approvals and notifications to you.
Out of Office Assistant panel to set the date and time range of your absence, select the surrogate(s) who will handle your approvals and notifications and compose the out-of-office message users will receive automatically when sending approvals and notifications to you.
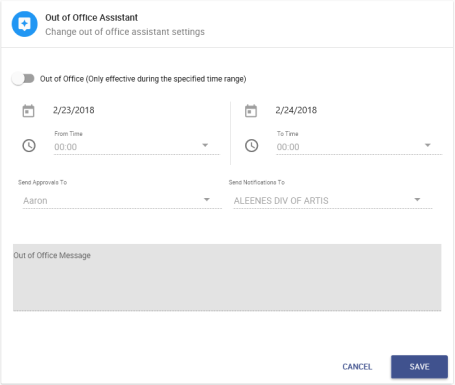
To turn on the Out of Office Assistant and enable all fields for entry, select Out of Office:  . After completing your entries, click SAVE.
myFavorites
The ![]() myFavorites panel displays a list of all the pages you have marked as favorites. Page URLs are included.
myFavorites panel displays a list of all the pages you have marked as favorites. Page URLs are included.
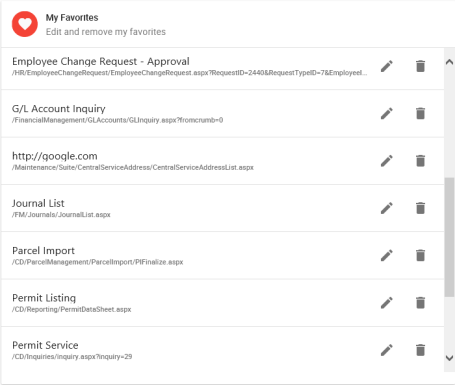
You have options to edit and remove favorites.
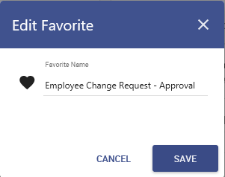
To edit the name of a favorite, click the pencil icon  to the right of the name. The
 ![]() Edit Favorite dialog opens. Type the new name and click SAVE.
Edit Favorite dialog opens. Type the new name and click SAVE.
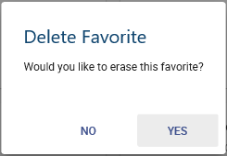
To remove a favorite, click the trash can icon  to the right of the name. The
 ![]() Delete Favorite dialog opens, asking you to confirm whether you want to remove the page from your favorites list.
Delete Favorite dialog opens, asking you to confirm whether you want to remove the page from your favorites list.
Click the ![]() SIGN OUT button to sign out of the system.
SIGN OUT button to sign out of the system.
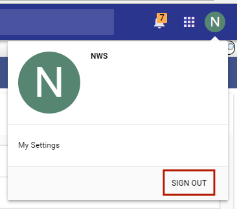
Signing out takes you back to the New World ERP login page.